Using the Activity Calendar |

|

|

|
|
Using the Activity Calendar |

|

|

|
|
|
||
The Activity Calendar can be accessed in various ways, including from a direct link in another source, as an embedded calendar on a different website, or from within the Astra Schedule application. To access the Activity Calendar from within Astra Schedule, click the Activity Calendar option on the Calendars landing page.

A default Activity Calendar will be displayed as defined by the calendar permission within your role. The default calendar view and filter are determined by the calendar definition.
If more than one calendar is available to you, you may choose between different saved calendars using the Choose Calendar drop-down menu. Upon selecting a new saved calendar, the display will refresh with that calendar's default view and filter applied.

Pre-defined filters can be associated with saved calendars. If the selected calendar includes pre-defined filters, you may choose between the saved filters using the Filter drop-down menu. Upon selecting a filter, the contents of the calendar being viewed will update accordingly.

The Activity Calendar can be viewed as a Month or Week calendar grid, as a list of activities for a single day (Day), or as a list of activities for a selected day plus days going forward (List). Using the format option buttons, choose Month, Week, Day, or List to change to the desired format.
![]()
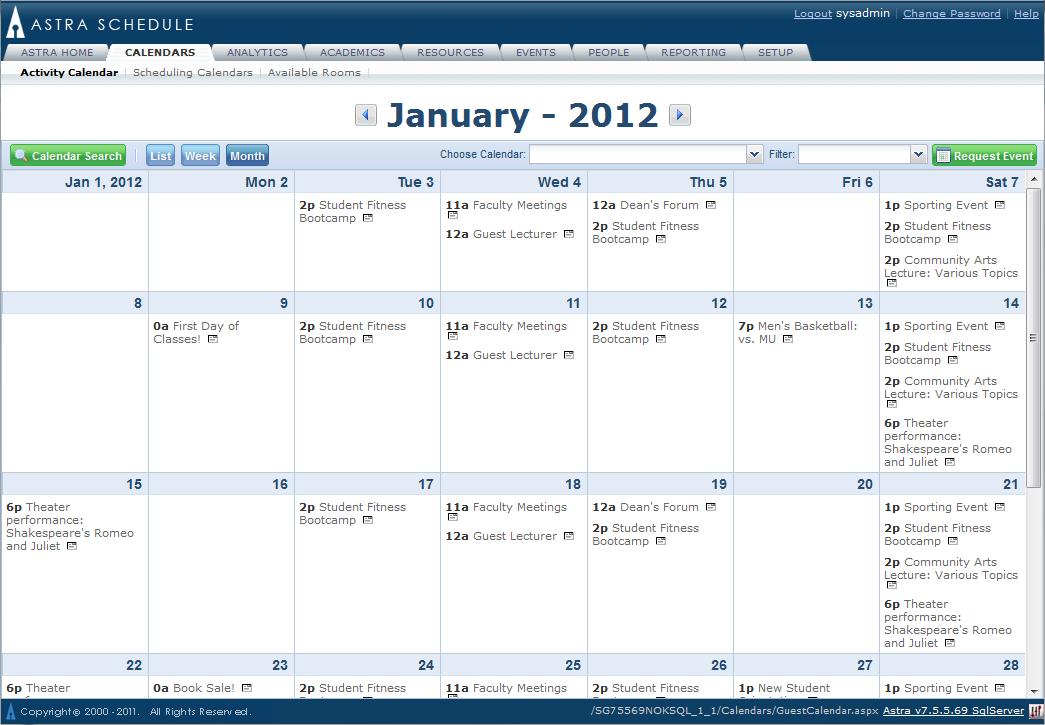
The calendar format will be displayed as shown in the examples below.
In both the Month and Week views of the calendar, each cell will continue to expand in size to accommodate the number of activities on a given day, up to 100. If a day has more than 100 activities, a link is provided to view the contents of that day in the List view.


The List and Day views display a list of activities, grouped by date. Both views default to the current date (today), but can also use the start date of your search or previous view, as applicable. A scroll bar and paging controls are provided to navigate the list going forward.
![]() NOTE: The "Day" view shows all filtered activities occurring on the selected date only, and answers "What is happening on this date?". The "List" view shows all filtered activities from the selected date forward, and answers questions like "On what dates are the "Chess Club" meetings?".
NOTE: The "Day" view shows all filtered activities occurring on the selected date only, and answers "What is happening on this date?". The "List" view shows all filtered activities from the selected date forward, and answers questions like "On what dates are the "Chess Club" meetings?".
In any format, you can use the arrow buttons to the left and right of the displayed date or date range to navigate backward or forward.
![]() NOTE: You can change your search starting date to a date in the past in any of the views by editing the date value in the custom filter panel.
NOTE: You can change your search starting date to a date in the past in any of the views by editing the date value in the custom filter panel.

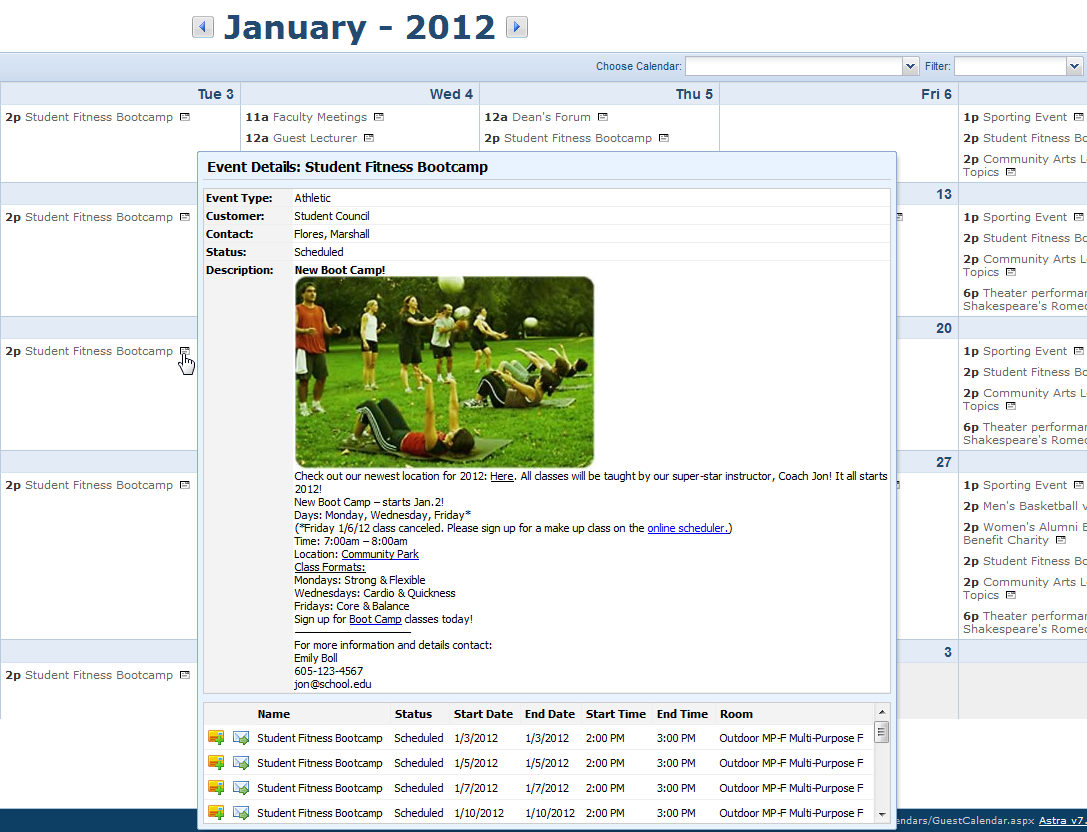
Each activity displayed on the calendar, regardless of format, includes a small info icon to the right of the activity summary. Hover your cursor over this icon to see more details about the activity, including contact information, a full description, and other meetings for the activity, if applicable.

Activities on the Astra Schedule calendar may also be added to your personal calendar. When hovering over the info icon for an activity, the detail view also includes the option to add items to your calendar.
In the detail view, click the Add to Calendar icon for the activity as shown below.

Select "Open with" and choose your calendar.
![]() NOTE: You may also save the iCalendar file to a location of your choosing and import it into a calendar later.
NOTE: You may also save the iCalendar file to a location of your choosing and import it into a calendar later.

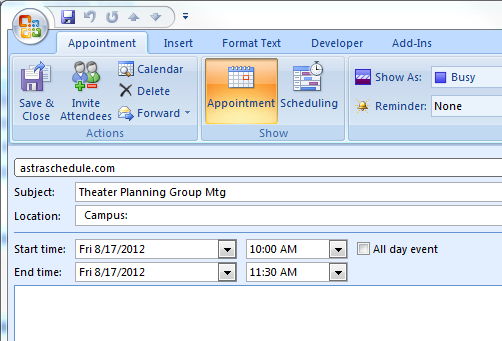
The activity is added to your calendar as an appointment. In Outlook, click Save & Close to add the appointment.

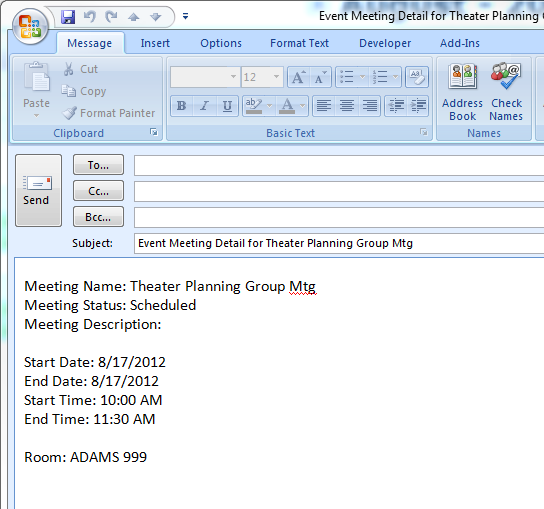
If desired, you may email the details of an activity to anyone you choose. While hovering over the info icon to view details, click the email icon next to the activity you wish to send, as shown below.

The system will start a new message using your email client and automatically include the activity name and meeting details in the body. You may edit the message as desired, and then send the message to recipients of your choosing.

If allowed by the calendar being viewed, you may create a custom search or filter the activities being displayed. Start by clicking the Calendar Search button to expand the Filter panel.
![]()
The calendar definition includes settings that determine whether or not the custom filter panel is available, and if so, what options are provided. Filter types and the choices within each type may be limited.
Keyword search, start date, and various filter choices are available within the filter panel. For individual filter choices, use the + button, if provided, to select one or more filter items from the list. Otherwise, you may toggle filter items on and off by removing or adding the check mark. Filter items may be permanently removed by using the red X. Finally, you may use the "not equal to" option to the right of each filter type to eliminate certain choices.
Click Search to update the calendar results in its current format. This is handy when there are many activities displayed (for example on the Month view) and you simply want to remove all but the activities that match your filter criteria.
Click Search List to immediately jump to the List format displaying all matching activities from the start date forward. This is handy when you aren't sure when an activity is occurring or how many occurrences there are.

Favorite filters may be saved.
The saved filter toolbar is included at the top of the filter panel.
![]()
When filter selections are made, the saved filter tool will display "custom" to indicate that manual filtering is being applied. To save the filter selections for reuse at a later time, perform the following:
1.Select the filter options you would like to save in the filter panel.
2.Click the save button in the saved filter toolbar.
3.Enter a name for your saved filter.

4.Place a check in the box labeled "Set as Default Filter" if you would like the saved filter to be applied by default when visiting the page.
![]() NOTE: If no default is specified, filtered lists will remember the last filter applied when returning to the page.
NOTE: If no default is specified, filtered lists will remember the last filter applied when returning to the page.
5.Click OK to save the filter.
The saved filter is now available for selection using the drop-down menu on the saved filter toolbar.
You may edit or remove saved filters using the manage filters option on the saved filter toolbar.

The activities being displayed by a calendar and its current associated filter can be exported to Excel at any time, assuming that the custom filter panel has been provided on the calendar.
To export to a spreadsheet, click the Excel icon in the upper right corner of the filter panel.
On the "open" dialog window, choose either "Open with" or "Save", and click OK.
All of the summary information and associated ID values available for the current calendar view are exported to a spreadsheet, as shown below.
