
Associate a Task Agent with a Copied Instance (7.4.12+) |

|

|

|
|
Associate a Task Agent with a Copied Instance (7.4.12+) |

|

|

|

Associate a Task Agent with a Copied Instance (7.4.12+) |

|

|

|
|
Associate a Task Agent with a Copied Instance (7.4.12+) |

|

|

|
|
|
||
Starting with Astra Schedule version 7.4.12, the control panel can be used to uninstall and reinstall the task agent after updating the Astra Schedule database (e.g. to refresh test data from production).
To uninstall and reinstall the task agent, perform the following:
1.Open the Astra Schedule Control Panel.
2.Click on the Task Agent link at the top of the window.
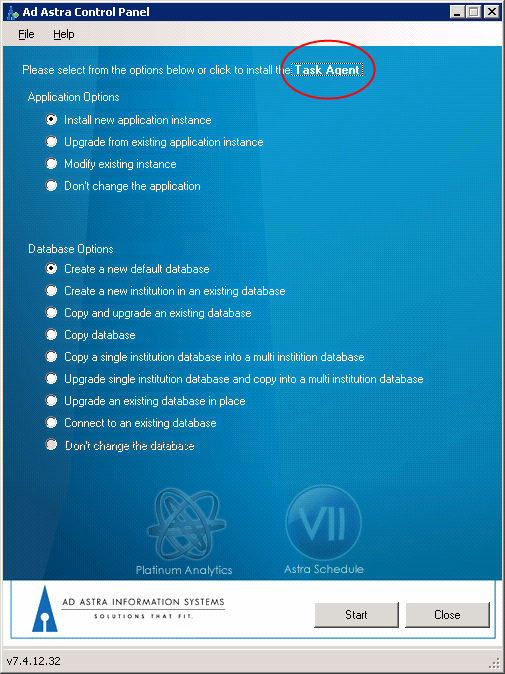
3.Select “Uninstall task agent” and click Start.

4.Select the appropriate task agent to uninstall and click Next.

5.Open Windows Explorer.
6.Navigate to the folder where the task agent was uninstalled.
This will be something like C:\Program Files\Ad Astra\7.5.6.130\Instances\MyInstance. (the version number and instance will be different)
7.Delete the TaskAgent folder.
8.Once deleted, you will need to install a new task agent by opening the control panel, clicking the Task Agent link, and choosing the option to “Install a new task agent”.
9.Click the browse (…) button to select an installation path for the task agent files. Use the Make New Folder button as needed to create a folder. The task agent files will be installed in a sub-folder named TaskAgent under the folder selected. In this example, selecting D:\Astra\Prod as the installation folder will result in creating D:\Astra\Prod\TaskAgent and D:\Astra\Prod\Files.
![]() NOTE: It is NOT a good practice to use version numbers in your folder names as these will become inaccurate as the software is upgraded.
NOTE: It is NOT a good practice to use version numbers in your folder names as these will become inaccurate as the software is upgraded.

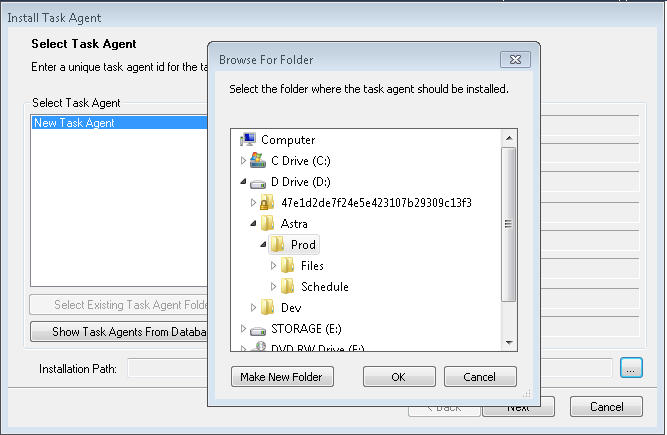
![]() NOTE: The "Show Task Agents From Database..." button is not needed during initial installation of a task agent, but may be useful if you want to look at a database to see information about the task agents that may be installed on other servers. When installing a new task agent, you cannot select an existing task agent in the list. This is only for informational purposes.
NOTE: The "Show Task Agents From Database..." button is not needed during initial installation of a task agent, but may be useful if you want to look at a database to see information about the task agents that may be installed on other servers. When installing a new task agent, you cannot select an existing task agent in the list. This is only for informational purposes.
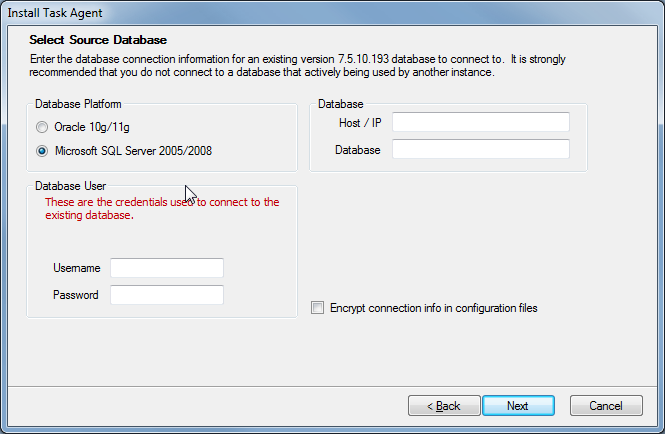
10.Select the applicable Astra Schedule application database platform and provide the login credentials for the application instance installed and click Next to continue.

11.On the Task Agent Settings screen, review and update the following information:

![]() NOTE: If your production and test instances are on the same server you will need to select the option to "Regenerate Task Agent Id".
NOTE: If your production and test instances are on the same server you will need to select the option to "Regenerate Task Agent Id".
Task Agent Name
Specify the new task agent name to be used (typically the application instance name).
Polling Interval
The recommended value is 30 seconds unless there are specific reasons identified that require adjusting this value. Earlier versions may have set this to 5 seconds.
Number of Threads
The recommended setting is 4 unless there are specific reasons that require adjusting this value. Earlier versions may have set this to 2.
The Number of Threads setting (NumThreads column on the TaskAgents table) should be set to equal-to or less-than the number of processors allocated to the machine running the Astra Schedule application. This setting determines the number of jobs that can run simultaneously, including ATE imports and sandbox runs. Keep in mind that database performance issues can occur if the application server has more processors than the database server and is configured to run many jobs at once (i.e. running an 8-core core app server and 8 jobs against a 4-core database server).
Port
IMPORTANT: Make sure the port is not already in use by another application. The netstat utility may be helpful in determining if a port is in use. Port conflicts will prevent the task agent from processing jobs correctly.
Also, make sure that multiple task agents are not running on the same port on a single server. This will cause conflicts and inconsistencies with communication to the task agent.
Regenerate Task Agent Id
This checkbox is used to force the Astra Control Panel to assign a new task agent ID. This is normally only used when updating a test environment with data copied from a production environment. Using this prevents task agent ID conflicts between the different environments.
Click Next to continue.
12.If using an Astra Schedule interface with a supported Student Information System, place a check in the box next to Connect to SIS and then select the SIS Type from the drop down list. The SIS Type selection will dictate which connection parameters are required. The connection settings will appear with the SIS Type selection.
See the applicable SIS Addendum for details on connecting to your SIS.

13.Enter or verify the host name and share name to be used for shared file access. The host name will typically be the local computer name. Click Next to continue.
![]() NOTE: It is strongly recommended to use a different share name than the web application even if the two components are being installed in the same folder (and thus share the Files folder). If the share name for the web application is AstraProd, you should use something like AstraProd_TaskAgent.
NOTE: It is strongly recommended to use a different share name than the web application even if the two components are being installed in the same folder (and thus share the Files folder). If the share name for the web application is AstraProd, you should use something like AstraProd_TaskAgent.

14.Click Install.
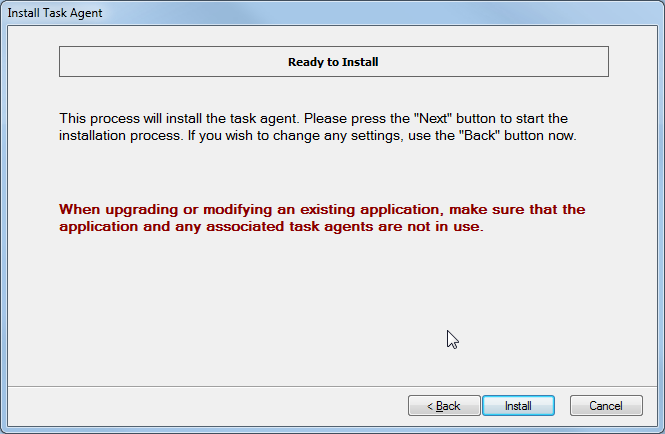
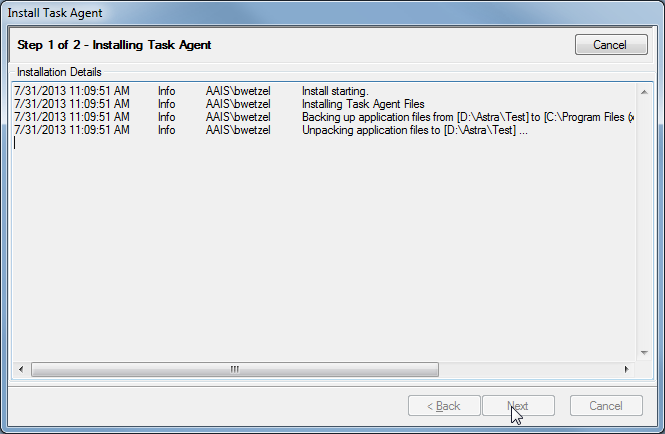
15.Wait while the task agent is installed.
Before continuing, review the summary at the end of the installation log. This will show any warnings or errors along with the context of where the error occurred so you do not need to scroll through the entire log looking for errors/warnings. Any critical errors that require attention before allowing users to resume using the system will be highlighted pink. Contact Ad Astra Technical Support if you need assistance in resolving these issues.
16.When the installation is complete and you are ready to continue, click Next.

17.Click Finish when completed.
