Plan Message Templates |

|

|

|
|
Plan Message Templates |

|

|

|
|
|
||
Academic Plan Message Templates provide a way to customize both the content and format of the email messages being sent out as part of an Academic Plan Message Campaign. A template designer is provided that includes RTF editing controls along with mail merge-style content variables through token replacement. Many student and planned course record elements are available as tokens that can be inserted into the message content. See the Plan Message Token Library for a full list of tokens. Customized message templates can be saved, named, and re-used in Academic Plan Message Campaigns where desired.
Default, starter templates are provided in the system to support plan messages for next term (Course Recommendations for the Upcoming Term) and future academic planning (Future Planned Courses) message campaigns. These templates can be edited, or additional templates can be created as needed (requires Edit Student permission).
To add a new message template to the system, perform the following:
1.Click the Message Templates option on the Academics tab.
The Message Template List page is displayed, showing any existing templates that are available.
2.Click Add a Message Template.
![]()
3.Enter a name for the template to represent its purpose. (e.g. "Full Academic Plan")
4.Optionally, enter a description.
5.Click Edit next to the "Body" section to begin customizing the body of the message.
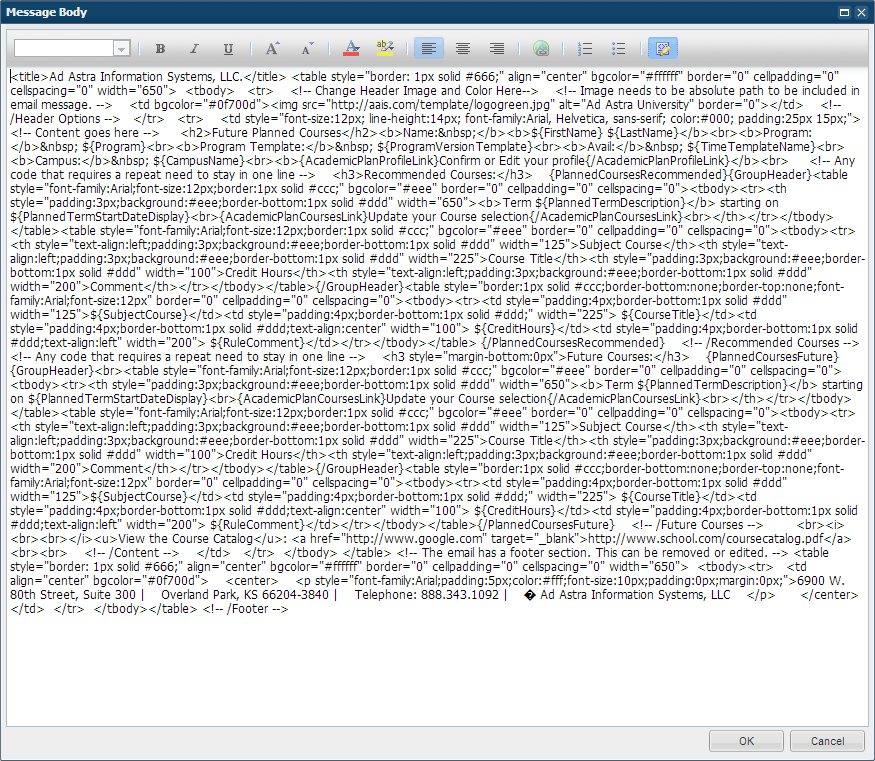
6.In the Message Body window, create the body of your message by entering text as desired. Insert tokens from the token library to provide student-specific data in the message as you would a mail merge.
7.Use the RTF editing controls to create the appearance you desire for your message.
![]()
![]() TIP: You may find it easier to copy and paste the body content from one of the starter templates as a starting point for creating a new template.
TIP: You may find it easier to copy and paste the body content from one of the starter templates as a starting point for creating a new template.
8.Use HTML as desired to add more advanced formatting to your message. You can toggle back and forth between the source HTML code and the preview by clicking the source code toggle button ![]() on RTF tool bar.
on RTF tool bar.


9.Click OK when finished editing the body content. A preview of your message is displayed on the template form.
10.Click Save on the template form to save your changes.